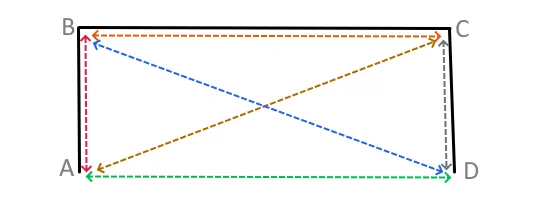
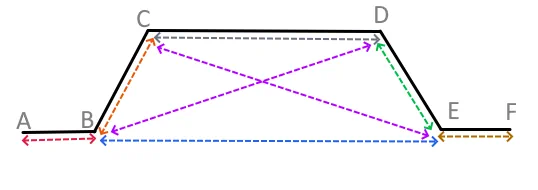
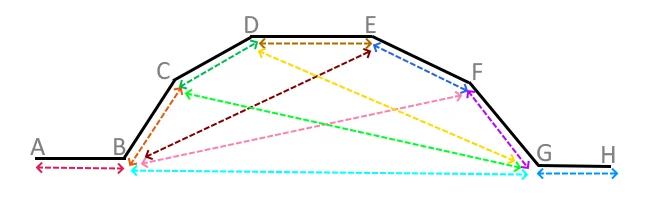
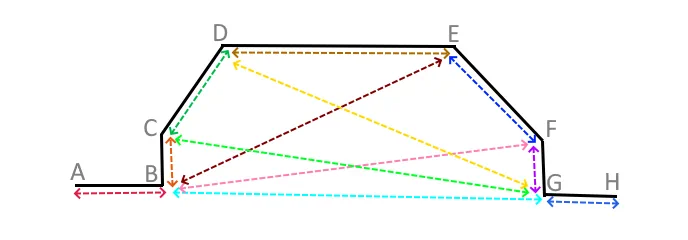
Are Bay Window Curtain Tracks Hard to Fit?
They can be — but usually only when you are trying to bend, cut and shape the track yourself during fitting.
Bay window curtain tracks can seem a bit daunting at first. You are not just fitting a straight track to a flat wall. You are working around bends, angles, corners and curtain positions.
But the fitting itself does not need to be complicated when the difficult shaping work has already been done for you.
This guide explains what makes some bay tracks difficult to fit, why DIY bendable tracks can become frustrating, and why a made-to-measure pre-bent bay track is usually much more straightforward.
The quick answer
Bay window curtain tracks are not necessarily hard to fit — but they can become difficult if you are trying to bend and shape the track yourself.
With many DIY bendable track systems, you may need to work out the track position, bend the track, cut it to length, add the brackets and gliders, and then hope everything lines up neatly once fitted.
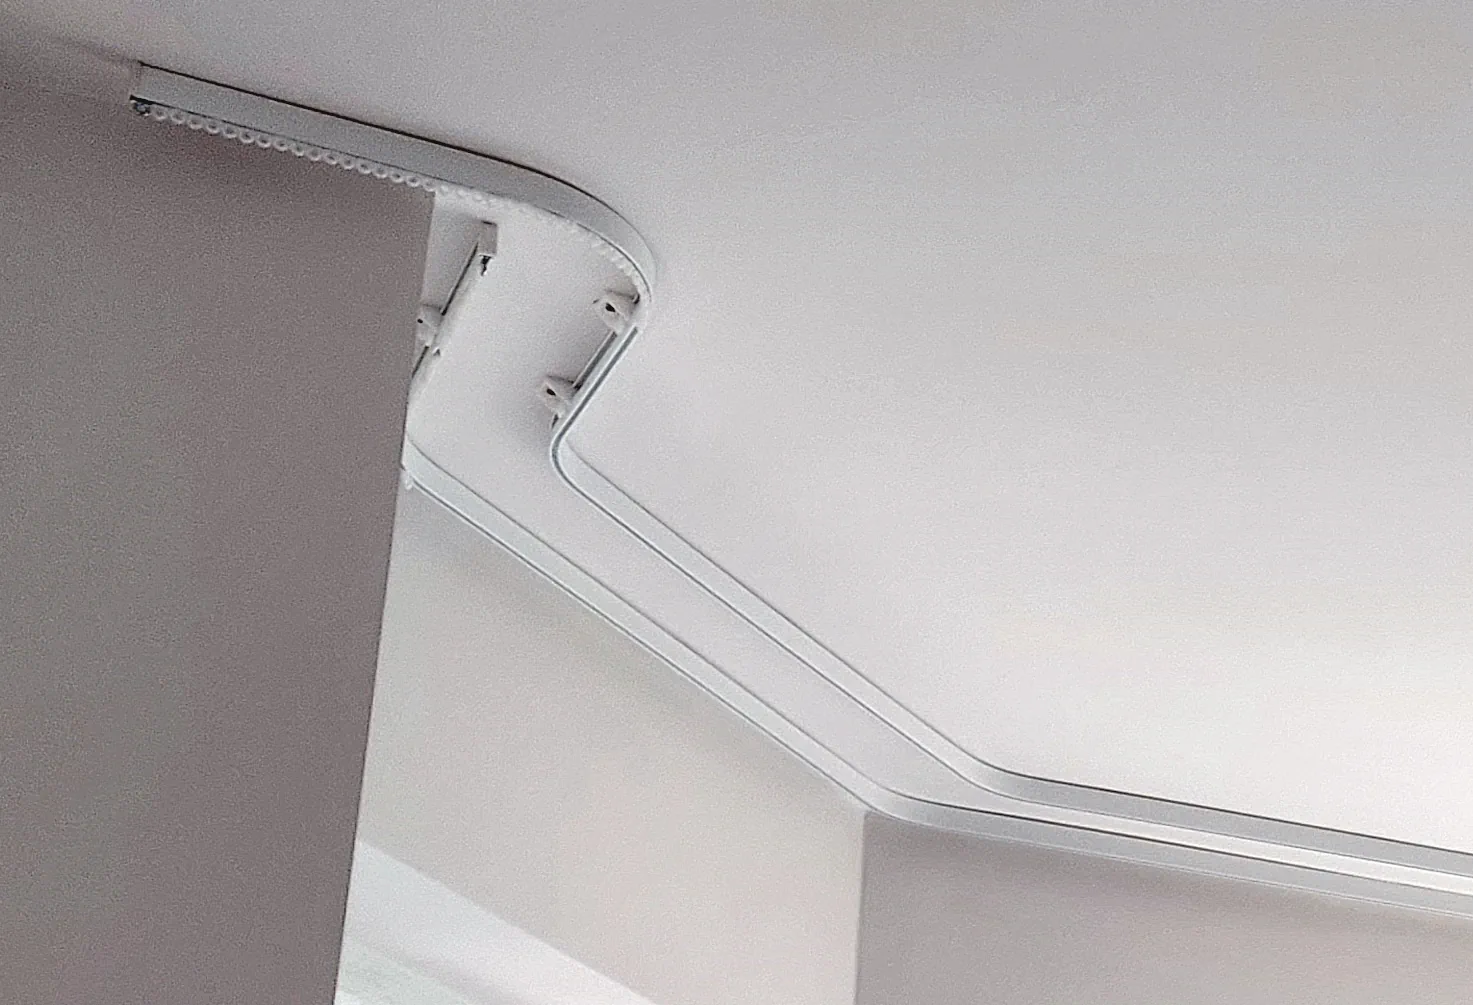
With our made-to-measure bay tracks, the track arrives already shaped to your bay window, with the ceiling brackets and components pre-fitted. That removes a lot of the difficult parts from the job.
The hardest part is often knowing where the track should go
One of the biggest challenges with bay windows is not just bending the track. It is knowing exactly where the track should sit in the first place.
The position of the track affects how your curtains hang, how they stack back, whether they clear the window sill, and how smoothly they move around the bay.
This becomes a real problem with DIY straight tracks because the bends need to be put in the right place to match the track position.
If you are not completely sure where the track needs to fit around the bay, it becomes much harder to know where each bend should start and finish.
Why DIY bendable tracks can become awkward
DIY bendable tracks can work in the right situation, but they often involve more judgement and fitting skill than people expect.
Depending on the track, you may need to:
- Decide the exact track position around the bay
- Work out where each bend should start and finish
- Bend the track by hand or over your knee
- Try to keep the bends smooth and even
- Cut the track to the correct length
- Fit brackets in the right positions
- Add gliders, end stops and other components
- Check the curtains still move properly around the bends
None of those jobs are impossible, but they all create chances for small mistakes to creep in.
Bay windows tend to show small inaccuracies more than straight windows do. A bend that is slightly out of position can affect how neatly the track follows the bay and how smoothly the curtains run.
Most bay tracks are ceiling fitted within the bay
Most bay window curtain tracks we supply are fitted directly to the ceiling within the bay. In fact, this is usually the neatest and most practical option for most bay windows.
Many people worry about ceiling fitting, especially if they are hanging full-length lined or blackout curtains.
Very occasionally, a ceiling may not be suitable. But for most normal bay window curtain setups, ceiling fitting is absolutely fine when the correct fixings and bracket spacing are used.
Ceiling fitting usually gives:
- A neater finish inside the bay
- Better curtain movement around the bends
- Good support when brackets are spaced correctly
- A cleaner look compared with bulky wall brackets
If ceiling fitting is the part you are most unsure about, we have a separate guide that shows this in more detail.
You do not need specialist fitting equipment
One of the big advantages of a made-to-measure pre-bent bay track is that you do not need any special bending tools or cutting equipment for the track itself.
For most ceiling-fitted bay tracks, the basic tools needed are:
- A step ladder
- A drill/driver
- A 6mm masonry drill bit
- A No.2 Pozidriv screwdriver bit
- A tape measure
- A pencil
We supply the screws and wall plugs with the track.
The tape measure and pencil are used to make small guide marks on the ceiling. These marks help you line the track up while holding it in position.
Once the track is in the right place, you follow the simple fitting steps and fix the pre-fitted brackets to the ceiling.
DIY bendable track vs our made-to-measure bay track
The real difference is not just the track itself. It is the whole fitting experience.
With a DIY bendable track, you are often trying to create the shape, prepare the track and fit it at the same time.
With our made-to-measure bay tracks, the track arrives shaped, prepared and ready to fit.
With many DIY track systems
- Work out the best track position yourself
- Decide where the bends should go
- Bend the track by hand
- Cut the track to length
- Assemble the gliders and end stops
- Position and fit the brackets
- Check whether you have enough brackets and gliders
- Hope the bends line up with the bay
- Hope the curtains glide smoothly afterwards
With our custom-made bay tracks
- Open the box
- Unpack your ready-shaped bay track
- The ceiling brackets are already pre-fitted
- The gliders and end stops are already fitted
- No bending the track yourself
- No cutting the track to length
- No chasing around for extra brackets or gliders
- Hold the track up to the ceiling
- Fit it by following the step-by-step video
Watch how a pre-bent bay track is fitted
Seeing a bay window curtain track being fitted often makes the process much easier to understand.
This video shows what fitting one of our pre-bent bay window curtain tracks is actually like. The important thing to notice is that the track already arrives shaped to the bay, so you are not trying to bend it during fitting.
Watch the Fitting Video
In the video above, I show the fitting process in real time so you can see how the regular bay track sits in the bay, how the return brackets support it while you work, and how to judge the final position before tightening everything fully. If you’re fitting one of these for the first time, these are the parts worth watching closely.
Checking the shape before you lift anything up
Right at the start you’ll see how I sit the track on the sill for a quick shape check. It’s a simple reassurance step — you’re just confirming the curve matches your bay before you start drilling.
Return brackets as your “anchor points”
The video makes it clear why the return brackets are fitted first. Once those are in place, you’ve got solid anchor points at each end, and the track can be offered up with far less effort.
Two-part (overlapping) tracks – why the ceiling marks help
On an overlapping two-part track, the video shows why a couple of pencil marks on the ceiling can be a lifesaver. They give you a simple visual reference for where the track should sit before you commit to fixing all the ceiling brackets.
What “temporarily held” looks like (and why it’s fine)
You’ll notice I’m not trying to make every fixing perfect straight away. The early goal is simply to get the track held up and positioned correctly — then you revisit anything that doesn’t feel solid. That approach keeps the job moving and avoids overthinking the first few fixings.
Seeing the plug-and-refit method in action
The video also shows the quick method for improving a fixing that doesn’t feel secure: remove the screw, slide the bracket slightly, drill and plug, then refit. Watching this once makes it much easier to recognise when a bracket needs that extra bit of support.
Centre overlap and smooth glider movement
If you’ve chosen the overlapping option, the video helps you visualise how the two halves meet in the middle. Once everything is fixed, you can check the gliders travel smoothly across that centre area before you start hanging curtains.
Overall, the video is there to give you confidence that what you’re seeing on your own bay window looks the same as what’s shown here — especially when positioning a two-part track before final tightening.
Why pre-bent tracks make fitting easier
The biggest advantage is that the difficult shaping work has already been done before the track reaches you.
You are not trying to bend a straight track over your knee. You are not fighting a plastic track that wants to spring back straight. You are not hoping the bends are in the correct position.
Instead, the track has already been made to suit the measurements you provided.
That means the fitting job becomes much more straightforward:
- Mark the ceiling positions
- Hold the track in place
- Fix the brackets
- Hang your curtains
For most customers, that is a much more manageable job than trying to turn a straight track into a bay track during installation.
When fitting may still need extra care
I would never say every bay window track is effortless to fit. Some bay windows are more awkward than others.
You may need to take extra care if:
- Your bay is very large
- The ceiling is uneven or in poor condition
- You are fitting very heavy curtains
- The bay has limited working space
- You are not comfortable drilling overhead
- You are unsure what the ceiling is made from
In those situations, you may still prefer to ask a local handyman or fitter to help.
The good news is that they do not need to bend or shape the track. They simply need to fit the already-shaped track in the correct position.
The simple way to think about it
Bay window curtain tracks are harder to fit when the shape has to be created during fitting.
They are much easier when the track arrives already shaped, already prepared and ready to fix in place.
That is the real difference.
Not sure which bay window curtain track you need?
If you are still unsure which track is right for your bay window, our curtain track finder is the easiest place to start.
It asks a few simple questions about your window, curtains and fitting preferences, then points you towards the most suitable option.